1. Recognize the Warning Signs
The first step in addressing roof damage is knowing what to look for. Damage may not always be obvious, so start by inspecting these areas:
- Around Your Home:
✅ Fallen shingles or tiles in your yard.
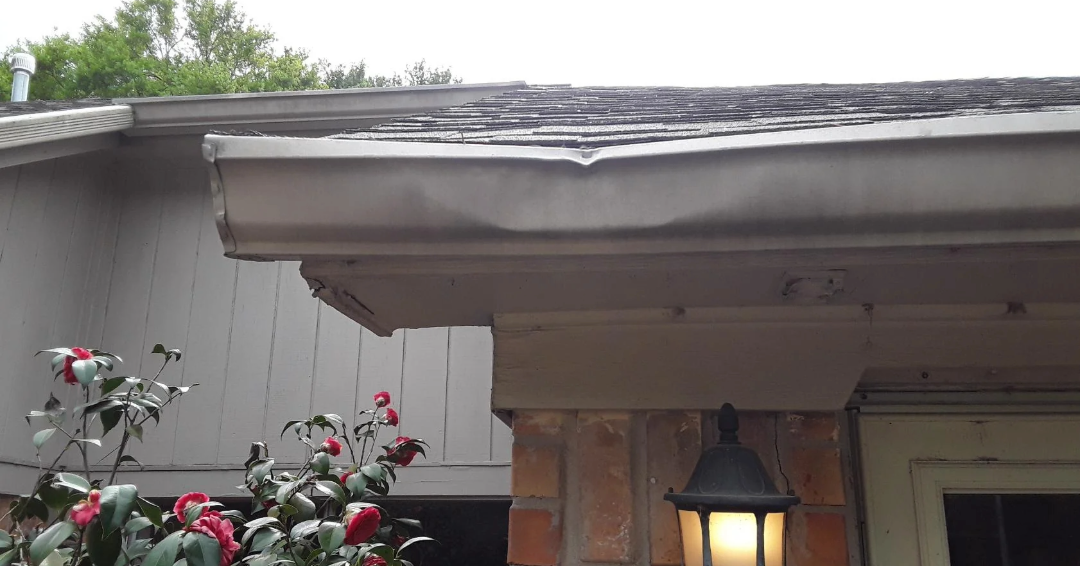
✅ Dented gutters or warped siding.
- On Your Roof:
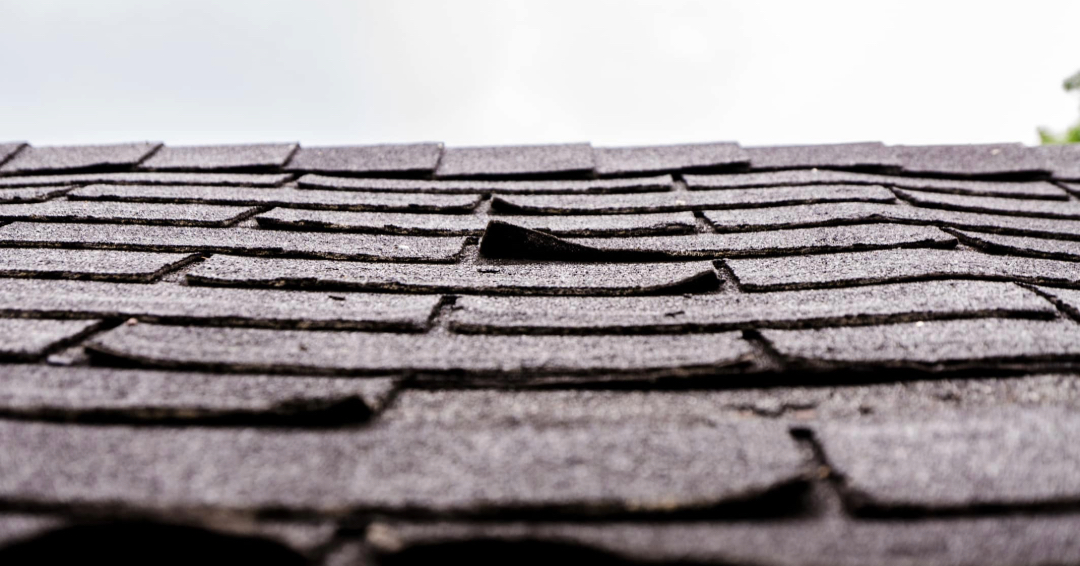
✅ Missing, cracked, or curled shingles.
✅ Ice dams from melting and refreezing snow, which can push water under shingles.
✅ Shingle granules accumulating in gutters.
- Inside Your Home:
✅ Water stains on ceilings or walls.
✅ Leaks during or after storms.
If you’re unsure about the severity or if you can’t safely access your roof, consider calling a professional for an inspection.
2. Document the Damage
Once you spot damage, document it thoroughly before making any repairs. Proper documentation is essential for insurance claims or contractor estimates. Use these tips for effective documentation:
- Take wide-angle photos to show the entire roof and surrounding property.
- Use close-up shots to capture specific issues like cracks or dents.
- Record videos of leaks or hail buildup for added context.
This step saves time and ensures you’ll have everything insurers or contractors need to assess the damage accurately.
3. Contact Your Insurance Provider
If your roof damage is covered by insurance, file a claim as soon as possible. Insurance policies typically cover storm-related damage, but specifics vary based on:
- Roof age and condition.
- Type and extent of damage.
- Location and risk factors.
Provide your documentation (photos and videos) to your insurer and be prepared for their adjuster to inspect your roof. Understanding your policy ensures you’re clear about what is covered and how much financial support you can expect.
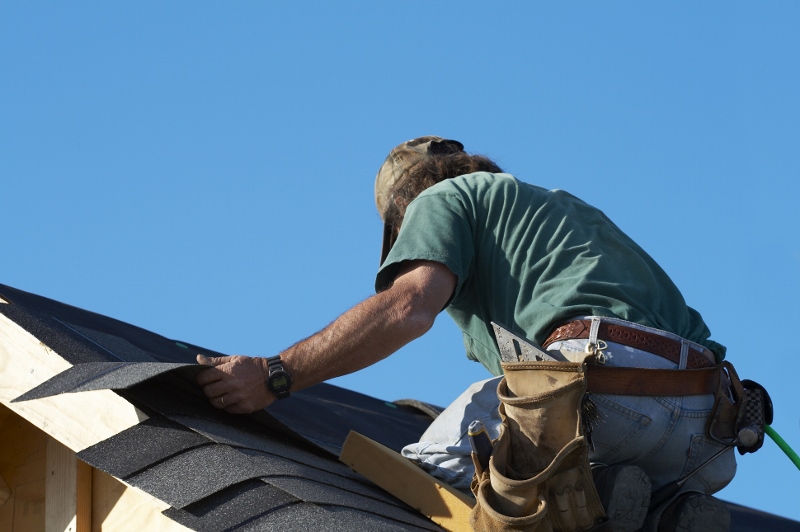
4. Hire a Professional Roofing Contractor
Once your claim is approved (if applicable), or if you’re handling repairs out-of-pocket, the next step is hiring a reputable contractor. A skilled professional will:
- Assess the full extent of the damage.
- Offer expert advice on repair options.
- Provide quality work to restore your roof’s integrity.
When choosing a contractor, ask these key questions:
- Are you licensed and insured?
- Can you share references or reviews?
- What’s your estimated timeline for repairs?
Researching and vetting contractors ensures you get the best results without unnecessary delays.

Why Documentation Matters
Whether for insurance or repair purposes, documenting damage protects your interests. Detailed photos and videos provide:
- Evidence for insurance claims.
- Clarity for contractors about repair needs.
- Peace of mind, knowing nothing important is overlooked.
Proper documentation simplifies the process and avoids misunderstandings.
Roof damage can be overwhelming, but taking immediate action helps minimize stress and expense. By spotting damage early, documenting it thoroughly, and working with trusted professionals, you can resolve issues quickly and effectively. Remember, regular inspections and maintenance are your best defense against future problems. When in doubt, call an expert to help safeguard your roof and your peace of mind.


