

Are you considering switching to solar energy for your home or business? Installing solar panels can be a great investment that helps you save money on energy bills and contributes to a cleaner environment. However, before you jump into the installation process, it’s essential to ensure your roof is ready to support the solar panels. In this article, we’ll guide you through the steps to prepare your roof for solar panel installation. From checking the roof’s structural integrity to ensuring optimal sunlight exposure, we’ve got you covered. So let’s get started on making your roof solar-ready!
Assessing Your Roof’s Structural Integrity
Before installing solar panels, it’s crucial to assess your roof’s structural integrity to ensure it can support the weight of the panels. A weak or damaged roof could result in leaks, instability, or even collapse.
Follow these steps to assess your roof’s structural integrity:
· Check for damage
Examine your roof for any signs of damage, such as missing or cracked shingles, rusted flashing, or holes. Use a ladder to inspect the roof thoroughly, or hire a professional roofing contractor to assess you.
During the assessment, identify any damaged area that needs repair before proceeding with the solar panel installation.
· Look for leaks
Check for water stains on your ceiling or walls. These are often signs that indicate a leak in your roof.
If you find any, track the source of the leak to the roof and ensure repair before proceeding with the installation.
· Assess the age of your roof
Determine how old your roof is and if it’s nearing the end of its lifespan. Most roofs last between 15 and 25 years, depending on the material used.
If your roof is approaching the end of its life, it’s a good idea to replace it before installing solar panels.
· Consider the pitch of your roof
The pitch of your roof refers to its slope or angle. Solar panels work best on roofs with a pitch between 15 and 40 degrees.
So if your roof has a pitch outside this range, you may need additional support structures to ensure the panels remain stable.
Evaluating Your Roof’s Sunlight Exposure
The amount of sunlight your roof receives directly affects the efficiency of your solar panels. Evaluate your roof’s sunlight exposure to ensure optimal performance and maximum energy savings.
Follow these steps to evaluate your roof’s sunlight exposure:
· Determine your roof’s orientation
The orientation of your roof refers to its direction to the sun. The ideal orientation for solar panels is south-facing, as it receives the most sunlight throughout the day.
East and west-facing roofs can also work, but they receive less sunlight and may require more panels to achieve the same energy output.
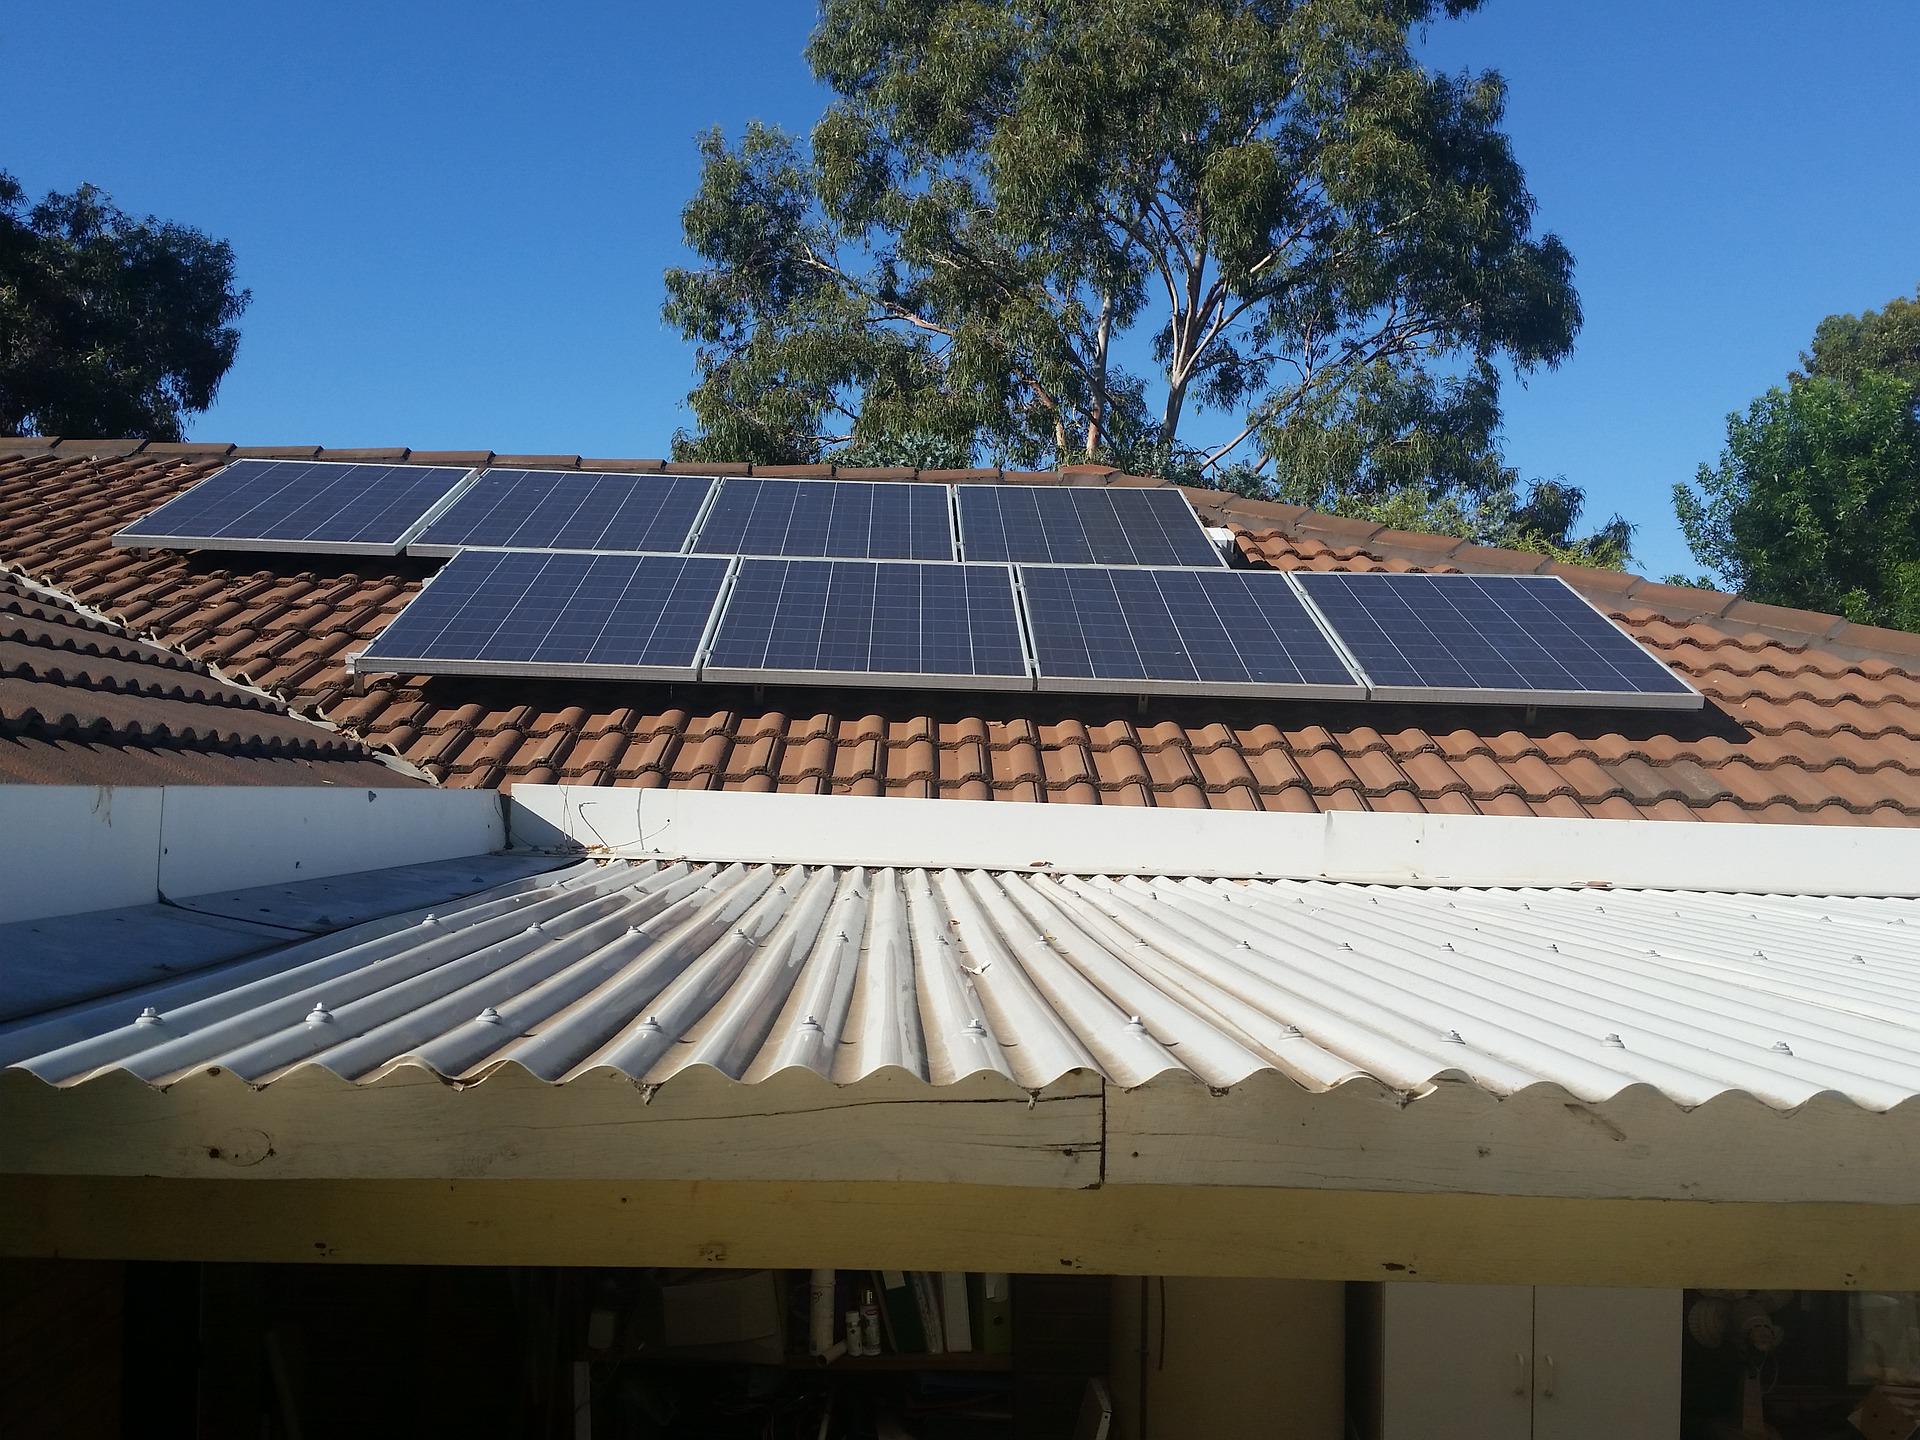
· Assess obstructions
Obstructions such as trees, buildings, and other structures can cast shadows on your roof and reduce the sunlight it receives.
Therefore, you need to assess the surrounding area and identify any potential obstructions that could impact your solar panel’s performance.
· Measure the angle of your roof
The angle of your roof, also known as its pitch, affects how much sunlight it receives. Generally, solar panels work best when installed at an angle between 15 and 40 degrees.
If your roof’s angle falls outside this range, you may need to install additional support structures to achieve the optimal angle.
· Consider climate and weather patterns
Climate and weather patterns can impact your roof’s sunlight exposure. For instance, if you live in an area with frequent cloudy or rainy days, your solar panels may not perform as well as in a sunnier climate.
Research your area’s climate and weather patterns and consult with a solar panel expert. The experts will be able to determine how the climate conditions in your area may impact your solar panel’s performance.
Cleaning Your Roof
A dirty or debris-filled roof can affect the performance of your solar panels and even damage them over time.
Follow these steps to clean your roof:
· Remove debris
The first step in cleaning your roof is removing any debris, such as leaves, sticks, or other debris accumulated on the surface. Use a broom, rake, or leaf blower to remove debris from your roof.
· Sweep away dirt
After removing debris, sweep away any dirt or dust on your roof’s surface. Use a soft-bristled brush or a leaf blower to sweep away the dirt gently.
· Power wash your roof
You can use a power washer to clean stubborn stains, mold, or mildew on your roof. If you don’t own a power washer, you can rent one from a local hardware store or hire a professional to do the job.
· Be gentle
When cleaning your roof, avoid using harsh chemicals or abrasive scrubbers that can damage your roof’s surface. Instead, use mild detergents and soft-bristled brushes that won’t scratch or damage the roof’s surface.
If you’re uncomfortable working on a roof or cleaning it yourself, consider hiring a professional to do the job.
Conclusion
If you need professional roofing services, Roofpro is here to help. With years of experience and a commitment to quality workmanship, Roofpro offers services to help you get your roof ready for solar panel installation, including roof repairs.
Call us at 250-248-3400 or Contact us today to learn how we can help you with your roofing needs.